Kubeflow是Google推出的基于kubernetes环境下的机器学习组件,通过Kubeflow可以实现对TFJob等资源类型定义,可以像部署应用一样完成在TFJob分布式训练模型的过程。最初的设计是将Kubernetes和Tensorflow结合实现对Tensorflow分布式训练的支持。但是仅仅实现对Tensorflow的支持还是远远不够的,Kubeflow社区又陆续对各种深度学习框架进行支持,例如:MXNet, Caffee, PyTorch等。使得机器学习算法同学只需关心算法实现,而后续的模型训练和服务上线都交给平台来做,解放算法同学使其专做自己擅长的事儿。
目前Kubeflow仅支持在v1.15.11及以下版本的k8s上部署,v1.16及以上存在兼容性问题,具体情况可参考这篇文章,接下来我们基于Microk8s(版本1.15/stable)部署kubeflow v1.0
安装kubeflow
下载 kfctl binary from the Kubeflow releases page
解压安装包并添加到执行目录
1 | tar -xvf kfctl_v1.0.1-0-gf3edb9b_linux.tar.gz |
设置环境
1 | export BASE_DIR=/data/ |
部署kubeflow
1 | mkdir -p ${KF_DIR} |
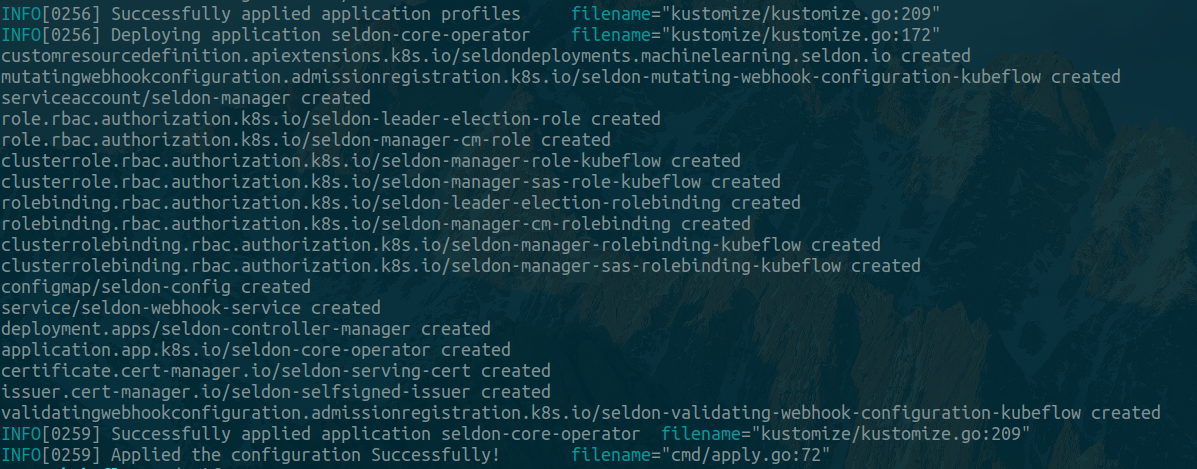
输出如下日志即安装成功
查看当前 Kubernetes pods 状态
1 | kubectl get pods --namespace kubeflow |
发现kubeflow的pod大部分没有启动成功,原因还是网络问题,需要访问gcr.io下载镜像,之前我都是通过gcr.azk8s.cn镜像地址下载的,但是最近发现gcr.azk8s.cn这个地址无法使用了,所以只能通过自己构建然后保存到阿里云或者dockerhub镜像库里,大家可以直接使用我已经构建好的镜像,执行下面脚本即可,也可自己构建,具体构建流程可以参考这篇文章
执行以下脚本将镜像下载到本地并导入到microk8s
1 | !/usr/bin/env bash |
执行完以上脚本后发现knative-serving还是没有启动,原因是因为knative镜像使用的是sha256,没有使用具体版本号,而镜像下载到阿里云之后sha256就变更了,所以无法下载,只能通过修改配置文件更改下载地址了
1 | vim /data/my-kubeflow/kustomize/knative-install/base/deployment.yaml |
镜像地址如下格式
1 | gcr.io/knative-releases/knative.dev/serving/cmd/activator@sha256:8e606671215cc029683e8cd633ec5de9eabeaa6e9a4392ff289883304be1f418 |
改成
1 | smartliby/activator:latest |
最后执行kfctl apply -V -f ${CONFIG_URI}重新安装即可
如果还是有pod无法启动,可通过kubectl describe pod 未启动pod的名称 -n kubeflow查看原因
如果是因为镜像无法下载,可以将依赖的镜像加到上面的脚本里下载镜像
如果是因为镜像拉取策略导致每次都重新下载问题,可通过下面命令或者kubernetes-dashboard修改,将Always 改为 IfNotPresent
1 | kubectl edit pod 未启动pod的名称 -n kubeflow |
执行 kubectl get pods --namespace kubeflow查看kubeflow的pod都已运行起来
1 | NAME READY STATUS RESTARTS AGE |
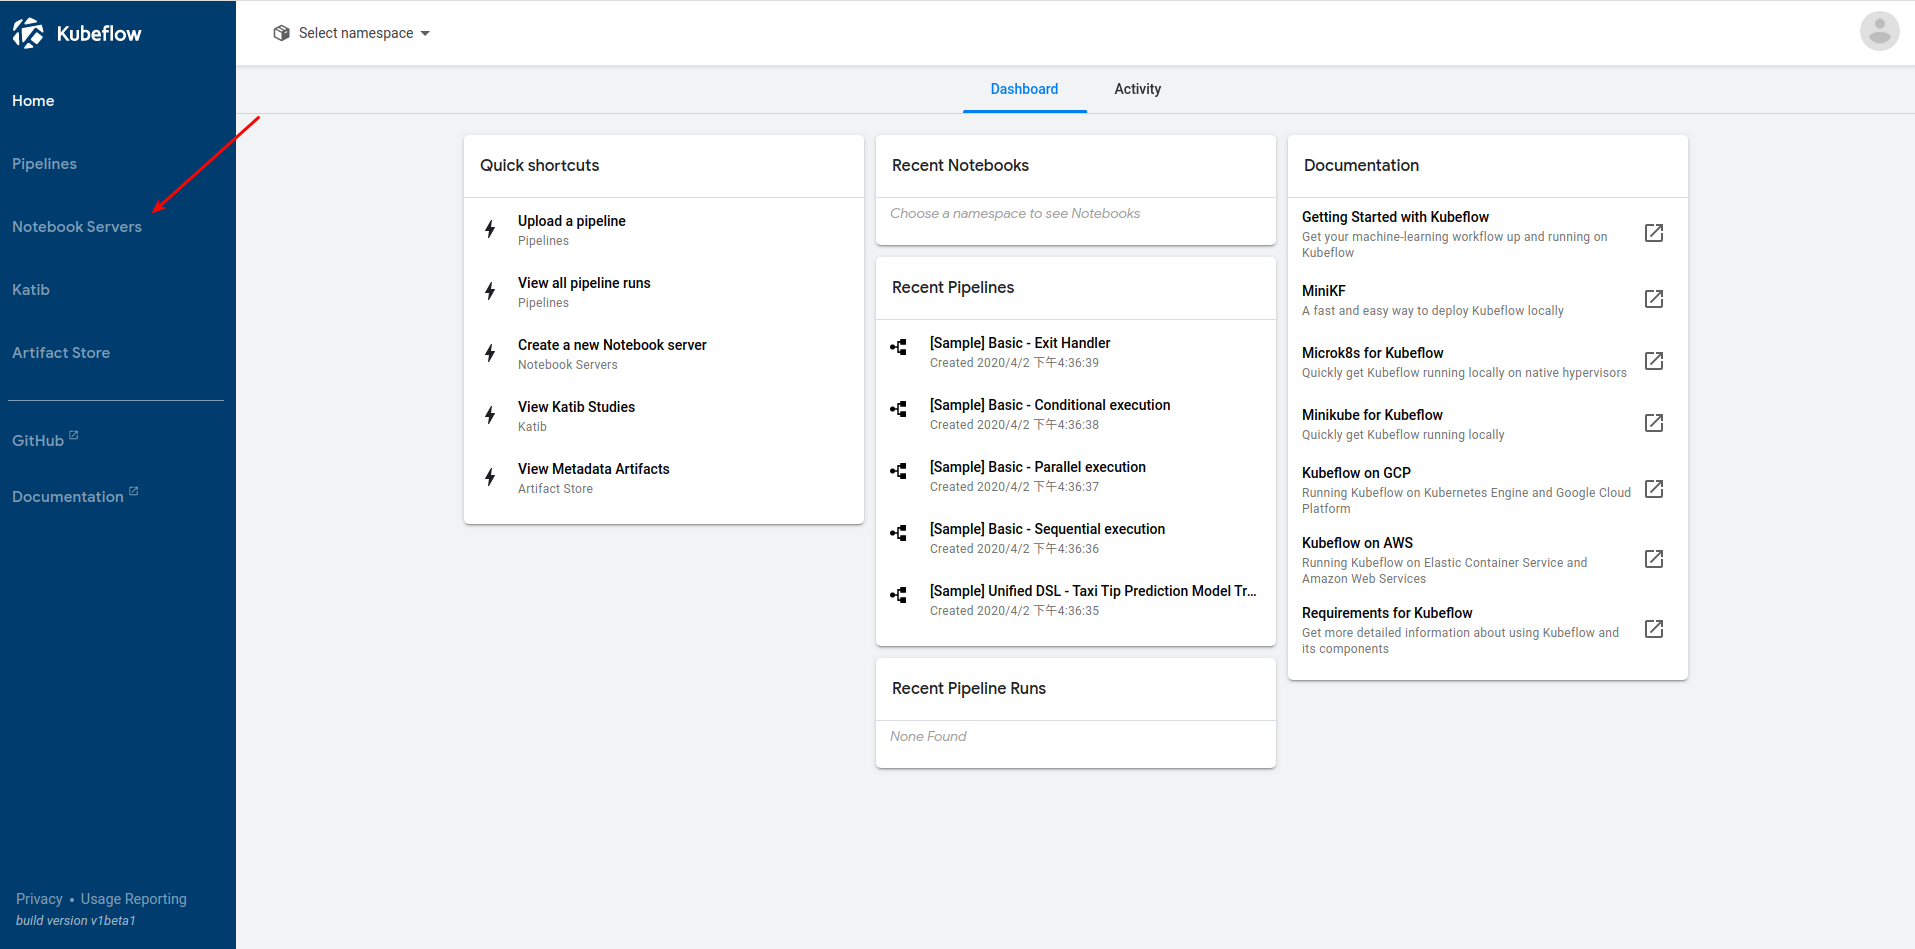
执行如下命令进行端口映射访问Kubeflow UI
1 | nohup kubectl port-forward -n istio-system svc/istio-ingressgateway 8088:80 & |
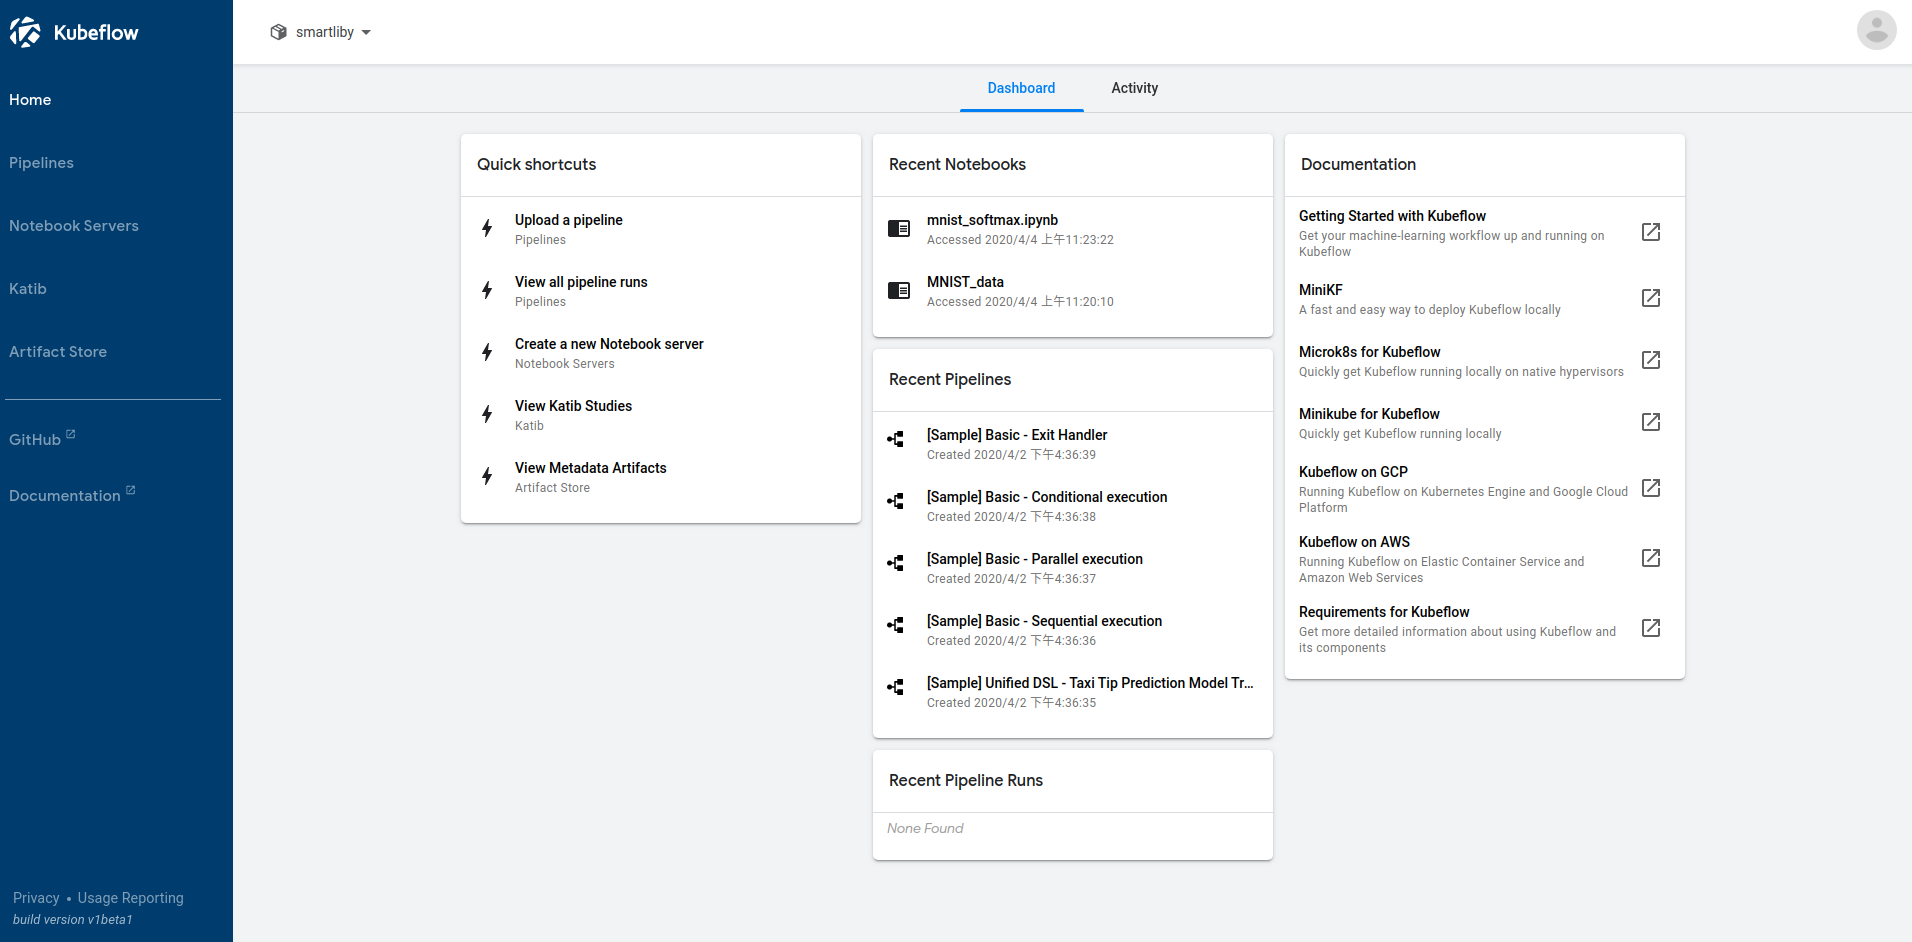
创建Jupyter notebook server
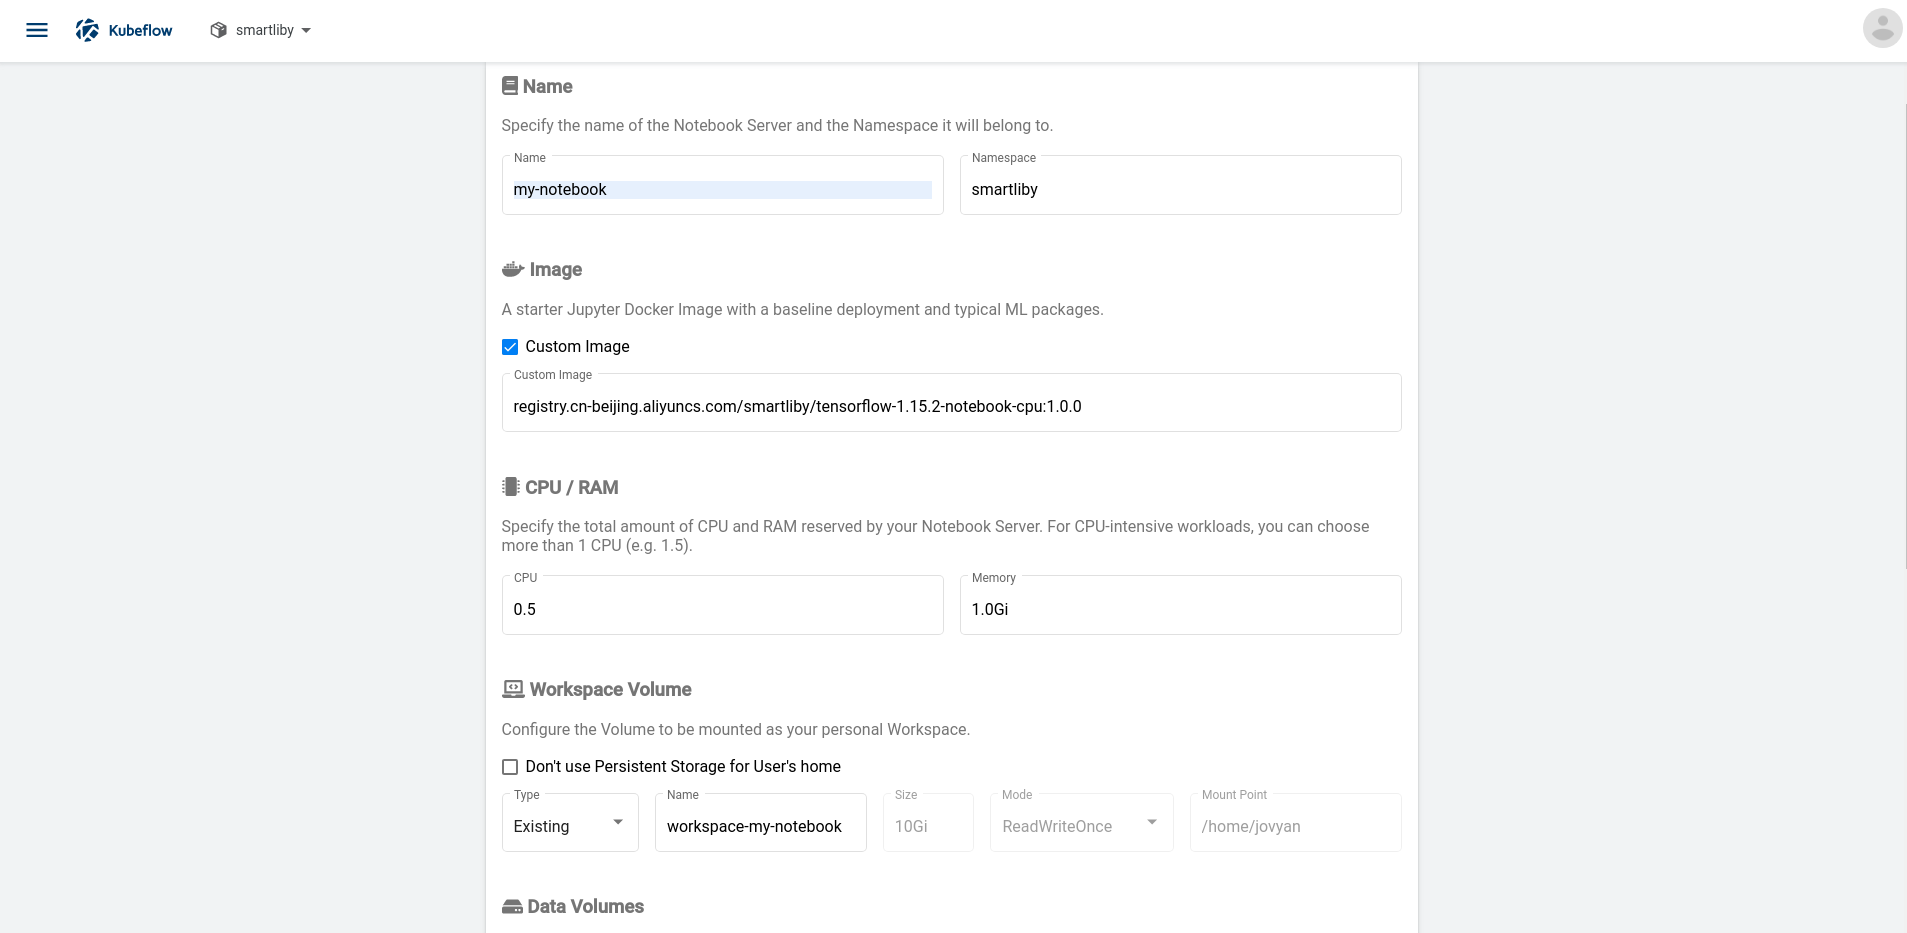
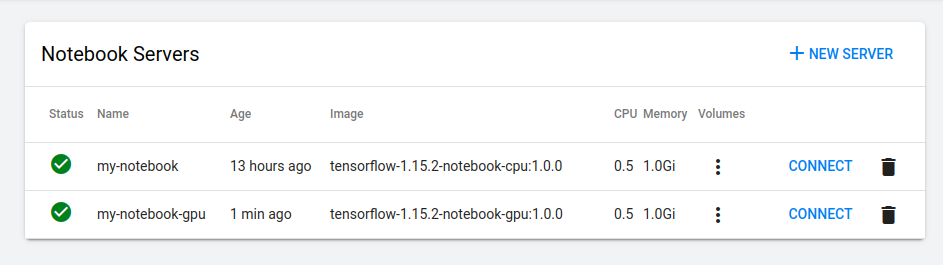
点击连接之后就可以跑模型训练了
测试Jupyter
创建Python 3 notebook,执行如下代码
1 | from tensorflow.examples.tutorials.mnist import input_data |
运行结果如下
1 | Accuracy: 0.9012 |
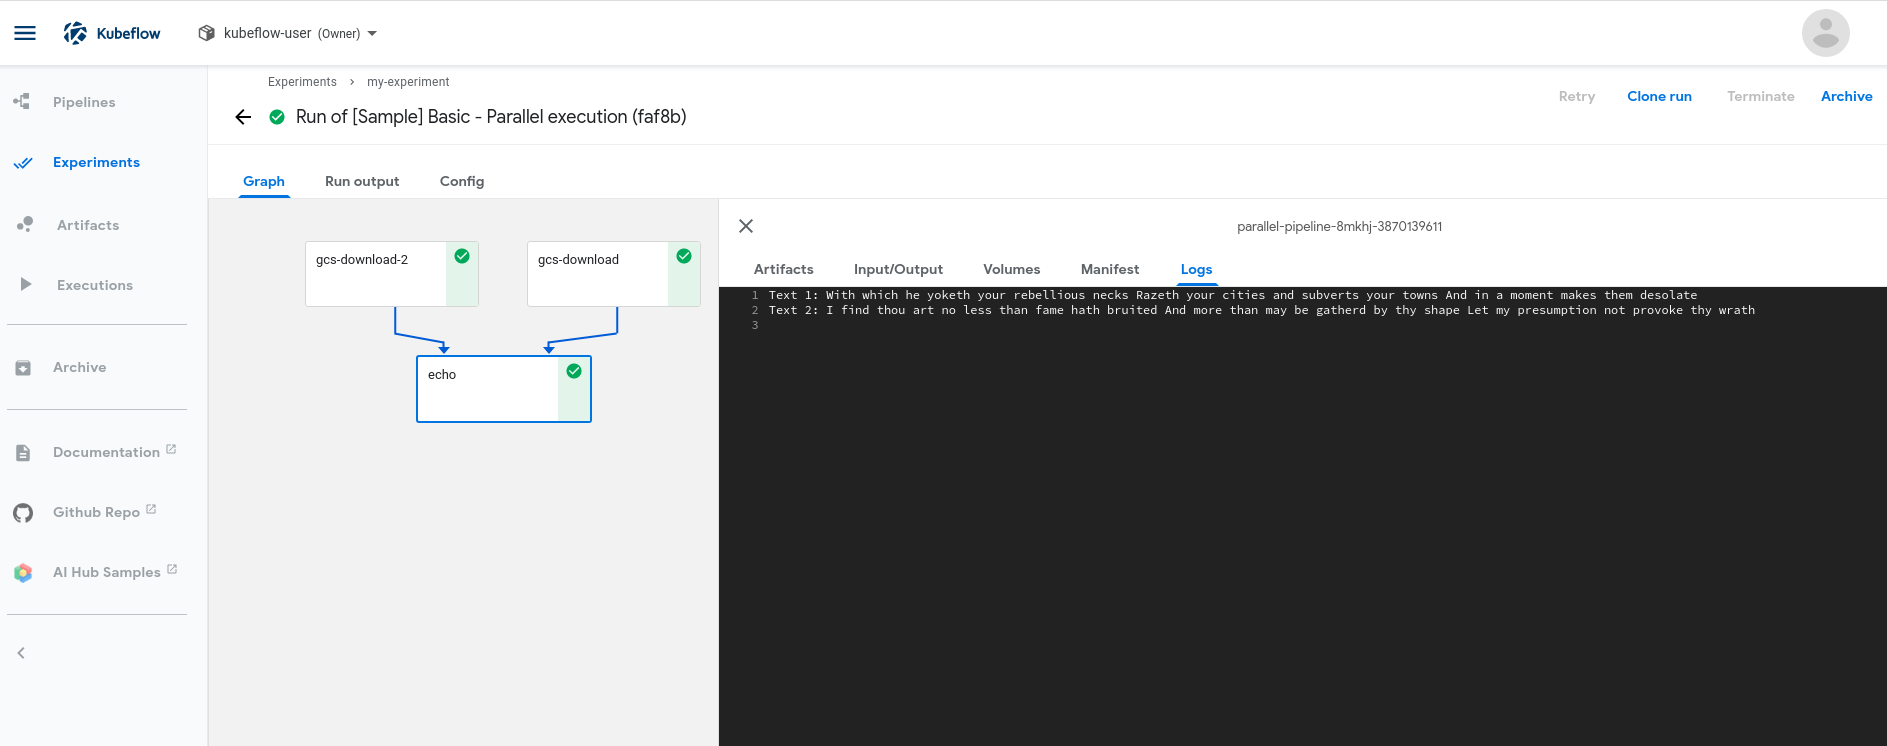
测试pipelines