miniKF安装教程

MiniKF is a fast and easy way to get started with Kubeflow. With just a few clicks, you are up for experimentation, and for running complete Kubeflow Pipelines.

下载vagrant

1
2
wget https://releases.hashicorp.com/vagrant/2.2.7/vagrant_2.2.7_x86_64.deb
sudo dpkg -i vagrant_2.2.7_x86_64.deb

安装 Virtual Box

1
2
wget https://download.virtualbox.org/virtualbox/6.1.6/virtualbox-6.1_6.1.6-137129~Ubuntu~bionic_amd64.deb
sudo dpkg -i virtualbox-6.1_6.1.6-137129~Ubuntu~bionic_amd64.deb

安装MiniKF

Open a terminal on your laptop, create a new directory, switch into it, and run the following commands to install MiniKF

1
2
3
4
mkdir -p /data/miniKF/
cd /data/miniKF/
vagrant init arrikto/minikf
vagrant up

整个安装过程需要下载30G左右的文件,并且需要访问google,所以需要代理,出现如下内容表示安装成功

1
2
3
4
5
6
7
8
9
10
11
12
13
14
15
16
17
18
19
20
21
22
23
24
==> default: Machine booted and ready!
==> default: Checking for guest additions in VM...
default: The guest additions on this VM do not match the installed version of
default: VirtualBox! In most cases this is fine, but in rare cases it can
default: prevent things such as shared folders from working properly. If you see
default: shared folder errors, please make sure the guest additions within the
default: virtual machine match the version of VirtualBox you have installed on
default: your host and reload your VM.
default:
default: Guest Additions Version: 6.0.14_Ubuntu r132055
default: VirtualBox Version: 5.2
==> default: Using /data/miniKF/minikf-user-data.vdi for persistent storage.
==> default: ** Managing persistent storage **
==> default: Setting hostname...
==> default: Configuring and enabling network interfaces...
==> default: Mounting shared folders...
default: /vagrant => /data/miniKF

==> default: Machine 'default' has a post `vagrant up` message. This is a message
==> default: from the creator of the Vagrantfile, and not from Vagrant itself:
==> default:
==> default: Welcome to MiniKF!
==> default: Visit http://10.10.10.10/ to get started.
==> default:

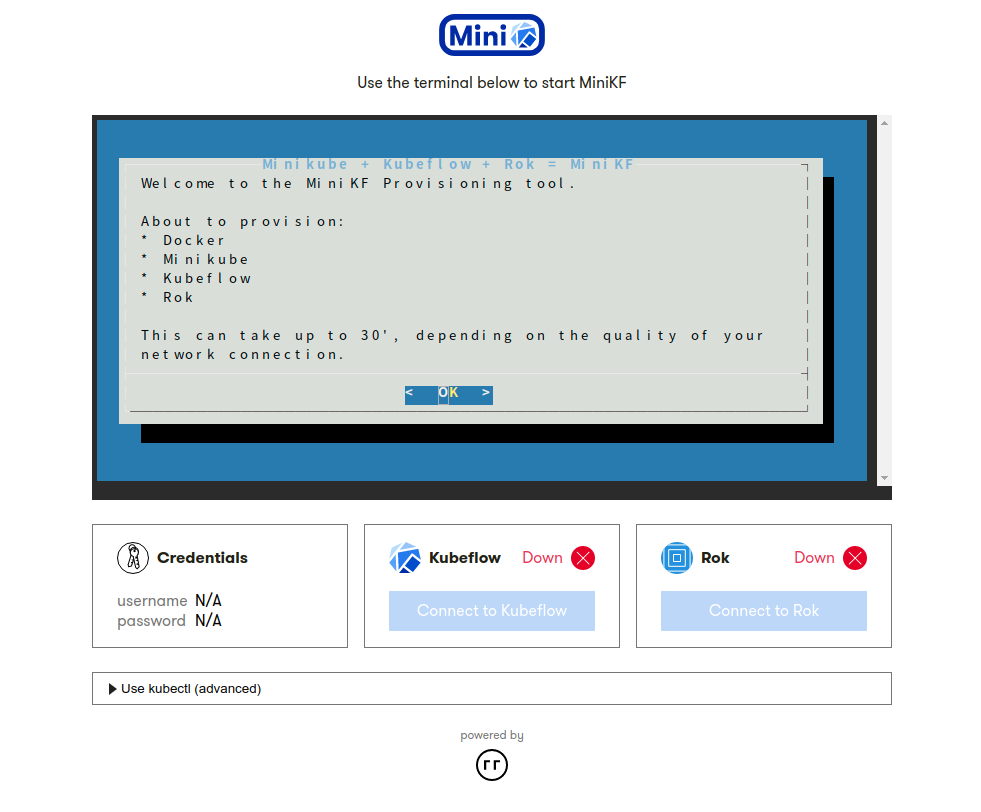
访问http://10.10.10.10/,点击页面的OK按钮,等待一段时间后整个服务就启动了,点击connect to Kubeflow就进入了kubeflow的操作界面
参考

[1] https://www.kubeflow.org/docs/started/workstation/getting-started-minikf/

欢迎关注我的微信公众号,订阅最新文章!
🐶 您的支持将鼓励我继续创作 🐶
0%